

I recently setup my Home Lab. However, I realised that the network connecting two of the mini PCs hosting my distributed GlusterFS volume was too slow. I was getting bottlenecked by the network between them. The 2 NVMe SSDs I put in would be no good if the network between them was going to be really slow. The read speed was acceptable because GlusterFS can read from the local disk if the data exists there, however the write speed was pretty poor.
varun@docker-4:/mnt/vol1/bench$ sudo dd if=/dev/zero of=./test1 bs=512k count=2048 oflag=direc
t
2048+0 records in
2048+0 records out
1073741824 bytes (1.1 GB, 1.0 GiB) copied, 9.32665 s, 115 MB/s
Since you can add network cards to the Lenovo Tiny M920Q Mini PCs hosting my Docker Swarm cluster with a PCIe riser card, that’s what I did. I had 2x Mellanox ConnectX-3 MCX354A-FCBT lying around in my apartment that I decided to try to put to use. These can do upto 56Gbps per port, however you should not expect to get double that in LACP because of PCIe bandwidth limitations. The Mellanox ConnectX-4 or ConnectX-5 are better cards so you should get them if you are in a position to do so. The first step ofcourse was to install the cards in the mini PCs. From my research, these need atleast 10-12W extra power so the 90W power supply is preferable, but it worked for me with the 65W too.
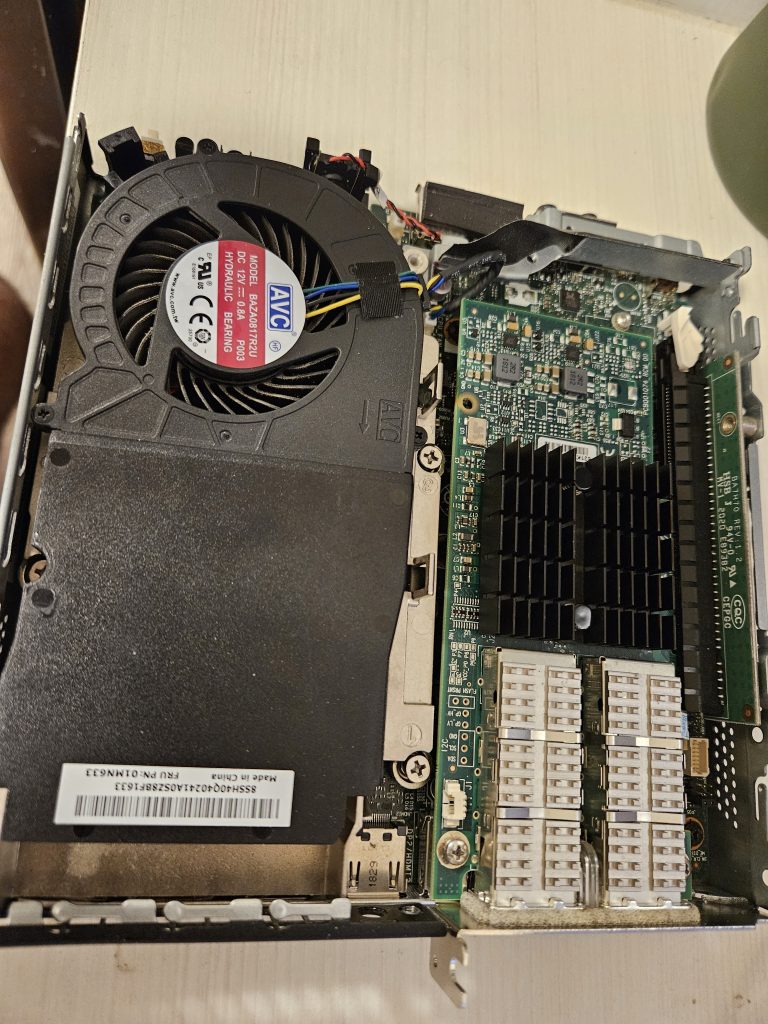
I also got an Active Optical Cable(AOC). A DAC should work too, the only thing to keep in mind is that the ConnectX-3 does not like AOCs that need more than 1.5W of power. 10Gtek QSFP-H40G-AOC1M from Amazon worked well for me.
| Item | Cost |
| Mellanox ConnectX-3 MCX354A-FCBT | $15/each(EBay or FB Marketplace) |
| 10Gtek QSFP-H40G-AOC1M QSFP AOC/DAC cable | $20/each(or less from used market for DAC) |
| Total | $50 for 40Gbps, $72 for 80 Gbps in LACP |
You can get upto 56Gbps per port if you get the right DAC cable, but they were too expensive and hard to find for me. You could also put them in LACP to get 80Gbps(or more) with failover, but I decided to not do that for now.
Preparing the card
My cards came with the Oracle firmware installed, so I had to install the Mellanox firmware to get it running. The first thing I had to do was to install the Mellanox tools for flashing the firmware. Make sure to download the firmware tools and the VPI firmware for Mellanox ConnectX-3. Not all versions of cards can do 40Gbps. Some people have had success with cross flashing to FCBT version, which can do 40/56Gbps. The version 4.22.1-307-LTS of firmware tools worked for me, the other version did not. I managed to install the firmware tools with this.
apt install pve-headers-$(uname -r) proxmox-default-headers gcc make dkms gcc make dkms #Replace first 2 packages with appropriate kernel header package
tar -xvzf mft-4.22.1-307-x86_64-deb.tgz
cd mft-4.22.1-307-x86_64-deb.tgz
bash install.sh
After this, make sure you can query the card. You will need to replace 01:00.0 with the output from the lspci command.
root@proxmox-3:~# mst start
Starting MST (Mellanox Software Tools) driver set
...
root@proxmox-3:~/test/mft-4.22.1-307-x86_64-deb# lspci | grep -i "mellanox"
01:00.0 InfiniBand: Mellanox Technologies MT27500 Family [ConnectX-3]
root@proxmox-3:~/test/mft-4.22.1-307-x86_64-deb# flint -d 01:00.0 q
Image type:            FS2
FW Version:            2.35.5532
FW Release Date:       12.5.2017
...
Backup and Flash Mellanox firmware
Next, we’ll backup the firmware that the card comes with.
flint -d 01:00.0 query full > flint_query.txt
flint -d 01:00.0 hw query > flint_hwinfo.txt
flint -d 01:00.0 ri orig_firmware.mlx
flint -d 01:00.0 dc orig_firmware.ini
flint -d 01:00.0 -vpd > orig_vpd.txt
Next, we will flash the VPI firmware we downloaded earlier.
root@proxmox-3:~/test# flint -i fw-ConnectX3-rel-2_42_5000-MCX354A-FCB_A2-A5-FlexBoot-3.4.752.bin query full
Image type:            FS2
FW Version:            2.42.5000
...
root@proxmox-3:~/test# flint -i fw-ConnectX3-rel-2_42_5000-MCX354A-FCB_A2-A5-FlexBoot-3.4.752.bin verify
     FS2 failsafe image. Start address: 0x0. Chunk size 0x80000:
     NOTE: The addresses below are contiguous logical addresses. Physical addresses on
           flash may be different, based on the image start address and chunk size
     /0x00000038-0x0000065b (0x000624)/ (BOOT2) - OK
     /0x0000065c-0x0000297f (0x002324)/ (BOOT2) - OK
...
-I- FW image verification succeeded. Image is bootable.

root@proxmox-3:~/test# flint -d 01:00.0 -i fw-ConnectX3-rel-2_42_5000-MCX354A-FCB_A2-A5-FlexBo
ot-3.4.752.bin -allow_psid_change burn
    Current FW version on flash:  2.35.5532
    New FW version:               2.42.5000
    You are about to replace current PSID on flash - "ORC1090120019" with a different PSID - "MT_1090120019".
    Note: It is highly recommended not to change the PSID.
 Do you want to continue ? (y/n) [n] : y
Burning FS2 FW image without signatures - OK
Restoring signature                     - OK
Reboot after this. When you bootup the card should show up as a non-Infiniband card.
Switch to Ethernet mode
We will now need to switch this card to Ethernet mode.
root@proxmox-3:~# mlxconfig -d 01:00.0 q
Device type:    ConnectX3
Device:         01:00.0
Configurations:                                      Next Boot
         LINK_TYPE_P1                                VPI(3)
         LINK_TYPE_P2                                VPI(3)
...
LINK_TYPE_P1 and LINK_TYPE_P2 are the 2 interfaces of the card. We have 3 options to choose from Infiniband(1), Ethernet(2) and VPI(3) for the two ports.
root@proxmox-3:~# mlxconfig -d 01:00.0 set LINK_TYPE_P1=2 LINK_TYPE_P2=2
Configurations:                                      Next Boot       New
         LINK_TYPE_P1                                VPI(3)          ETH(2)
         LINK_TYPE_P2                                VPI(3)          ETH(2)
 Apply new Configuration? (y/n) [n] : y
Applying... Done!
Next, reboot and make sure the card is getting detected. There is also an option to get the card in SR-IOV mode, but I couldn’t get it working.
Benchmarking
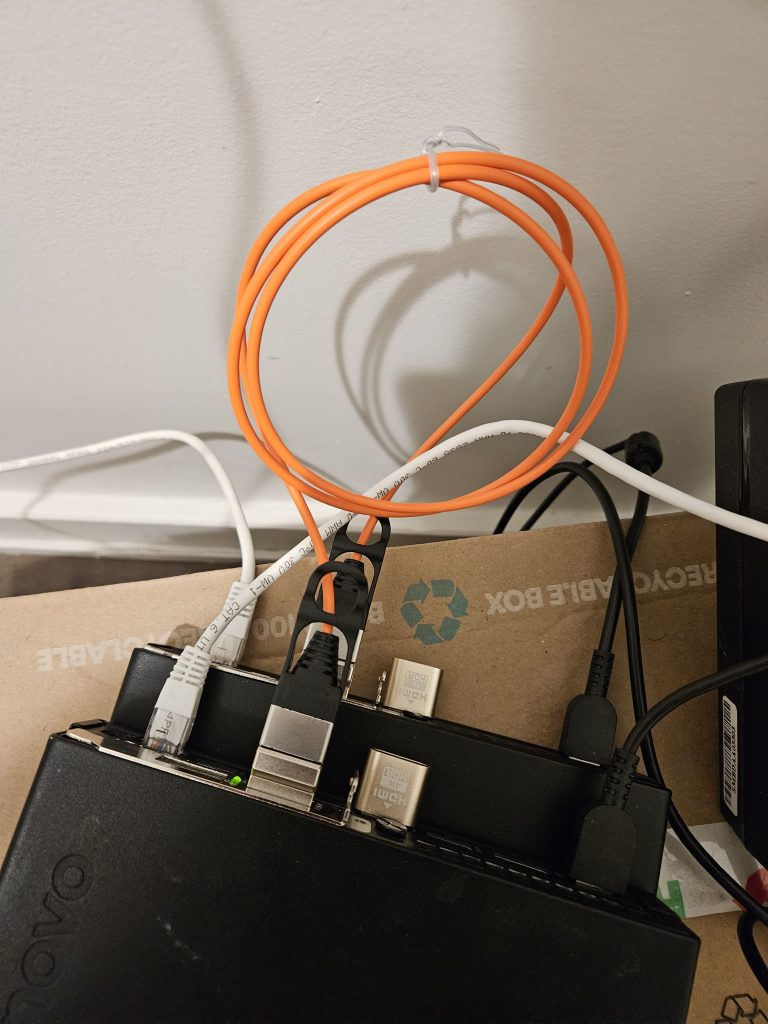
After getting the ethernet mode working, I simply connected the 2 mini PCs with Active Optical Cable. Next, I added IPs to either ends and made sure it gave me a ping.
iperf with MTU of 6000 gave me the best results.
root@proxmox-3:~# iperf3 -c 192.168.4.103
[ ID] Interval           Transfer     Bitrate         Retr
[  5]   0.00-10.00  sec  39.4 GBytes  33.8 Gbits/sec    0             sender
[  5]   0.00-10.00  sec  39.4 GBytes  33.8 Gbits/sec                  receiver
Next, I setup a Linux bridge interface with this interface and added it to the VM. You can also passthrough the interface if you don’t need it for other VMs. I resetup my GlusterFS volume to use this link between the nodes, but my Raspberry Pi would use the default interface to connect to these two nodes. I did it using different /etc/hosts files injected using Ansible. The only potential issue would be a link failure so I’m considering doing LACP between the nodes. This is the performance I got.
root@docker-3:/mnt/vol1/bench# dd if=/dev/zero of=./test3 bs=512k count=2048 oflag=direct
2048+0 records in
2048+0 records out
1073741824 bytes (1.1 GB, 1.0 GiB) copied, 2.96741 s, 362 MB/s
That is much better and leaves my main link spare for use with uplink. The only caveat is that I need to exclude the Raspberry Pi Docker Swarm node from IO heavy tasks, which is not a concern.